
Enigmail is a Postbox Labs project that allows you to encrypt and digitally sign emails using the OpenPGP standard for increased security and privacy. Enigmail is free and released under an open-source license.
Here's a set of simplified instructions that will help you get started with Enigmail. These instructions assume that you have installed Postbox but have not previously installed Enigmail or OpenPGP.
Installing Enigmail
- Download Enigmail for Postbox.
- In Postbox, navigate to the Tools menu and select Labs.
- Click the preferences icon in the upper right, then select Install Labs Project From File... from the contextual menu.
- Navigate to the Enigmail file that you downloaded to your computer, and install it. When finished, close the Labs tab.
- In Postbox, open a Compose window, then from the Enigmail menu, select Preferences > Setup Wizard.
- When asked to set up GnuPG, click the Install GnuPG... button.
-
When the GnuPG install process is complete, you will see the following confirmation:
"Enigmail is now properly configured and ready for use."
Configure Postbox
- In Preferences | Options, navigate to Accounts > [your email account] > OpenPGP Security.
- Select the Enable OpenPGP support (Enigmail) for this identity checkbox.
Sharing Your Public Key
To communicate securely with another individual, they must have your public key, and you must have theirs. The first step is to share your public key with the recipient.
- Open the Compose Window.
- From the Enigmail menu, select Attach Public Key..., then in the next panel, select the key you wish to attach to the message.
- Send the message with your key, but also remember to ask the recipient for their public key.
Receiving a Public Key
When you receive a public key, you will need to add it to Postbox. In the message that contains the shared key, right-click the attachment, then select Import OpenPGP Key.

Sending an Encrypted and Signed Message
Now you're ready to send an encrypted and signed message.
- Open the Compose window, and address and compose your message normally.
- In the Toolbar, click the Lock button to encrypt the message and the Pencil button to sign the message.
- Send the message.
Receiving Encrypted and Signed Messages
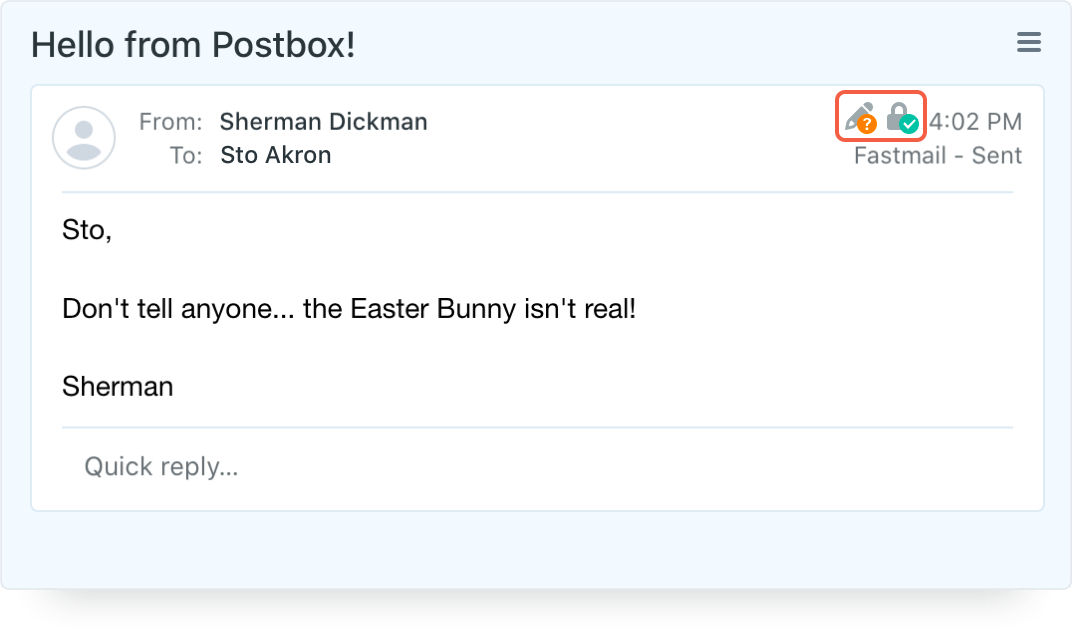
When you received an encrypted and/or signed message, Postbox will display a set of confirmation icons in the message header.
A signing icon with an orange question mark indicates that you have not yet certified the sender.
To certify the sender:
- Click on the signing icon to bring up the Enigmail Security Info Panel, then click the Open Key Properties button.
- Under the Basic tab > Validity, click the Certify button.
- Select a certification level. If you fully trust the entity that signed the message, select I have checked very carefully. Close the Enigmail panels.
- Restart Postbox for these changes to take effect.
Now that you've certified the sender, the signing icon will display with a green check icon.
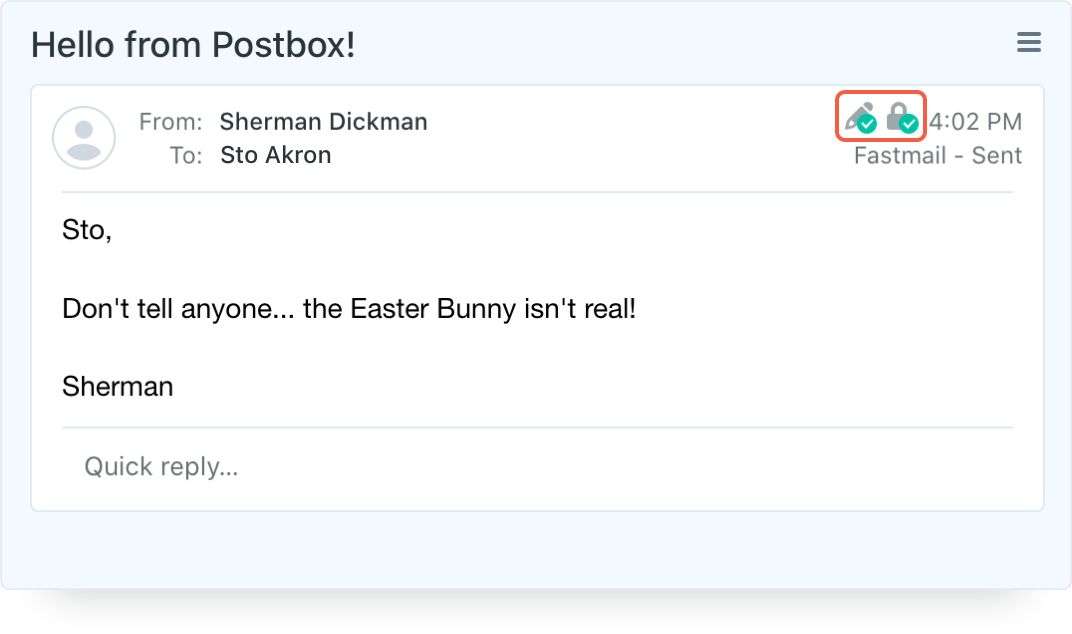
Your email messages now have a higher level of security and privacy!
Help and Additional Resources
Enigmail is developed and supported by a team of 3rd-party developers. For additional documentation and support, please visit the Enigmail website.