Evernote recently released version 10 of its desktop app for macOS. Unfortunately, this new version does not support AppleScript, which Postbox uses to communicate with Evernote. As such, Postbox will be removing the direct integration with Evernote starting with version 7.0.35.
Don't worry, we have an even better alternative for you... Quick Post!
Quick Post lets you quickly set up and use send-to-service email addresses, and automatically add the appropriate tags to the beginning or end of the subject line. Best of all, you can send content to the service in the background, without having to open up a compose window.
Setting up Quick Post
First, add the Quick Post button to the toolbar. Right-click the toolbar, select Customize... then drag and drop the Quick Post icon to the desired location in the toolbar.
Next, enter the Quick Post editor either via the Quick Post toolbar button or via Preferences > Advanced > Quick Post.
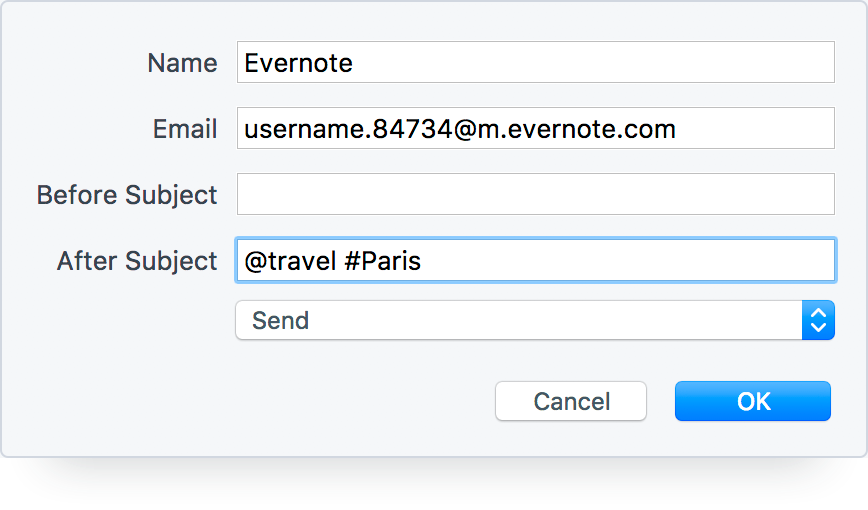
Click the New button, and enter a descriptive name, email address, and tags you wish to add to the beginning or end of the subject line.
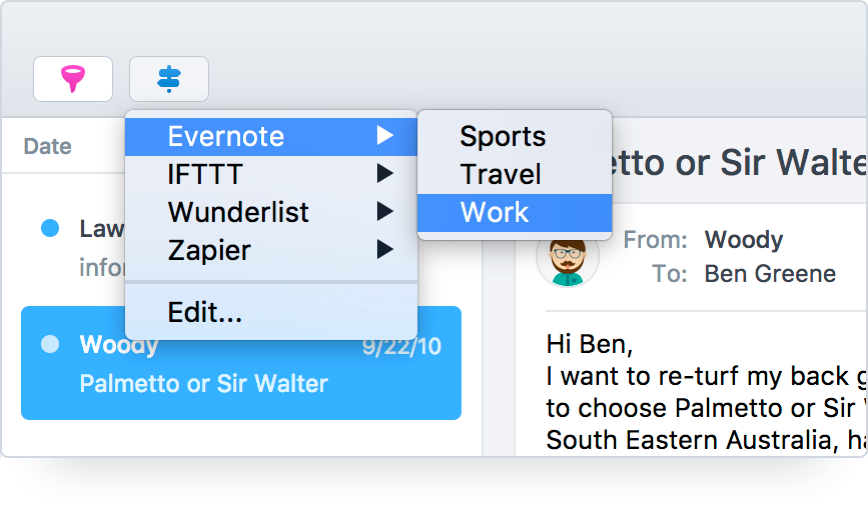
By adding :: to the descriptive Name, you can organize your Quick Post actions into sub-menus, for example:
- Evernote::Sports
- Evernote::Travel
- Evernote::Work
... will create three sub-entries under Evernote:
You can also specify how the message should be sent.
Send As Attachment is usually the best way to go since you're forwarding the original email. Services can then do the right thing with regards to images as attachments, for instance.
Send should be used when the service doesn't know how to process .eml files as attachments, like Trello or Slack. However, it does have some limitations. For example, images embedded into the message body as an IMAP URL won't show in the destination.
Send via Compose Window will bring up the Compose Window, which you can then edit before sending. This option is also the best one to use for images embedded into the message body as an IMAP URL.
Using Quick Post
To send content to a service, either select the message and then select an action from the Quick Post menu. Alternatively, you can use the Quick Bar. Select a message, then type the "q" key, then begin typing the name of your desired Quick Post.
The content will be sent to the service in the background.
Setting Quick Post to Run as a Filter Action
That's right! Once your Quick Post entries are set up, you can then have them run as a filter action! But note that messages are always sent As Attachment when using a filter action because, by their nature, filter actions run in the background.
How to Setup Email Sending for Popular Services
Quick Post works great for other services too! Take a look at these recipes to learn more: